Set up the Retail pack
For Shop owners · 5 min read · Last reviewed 2026-08-04
A corner shop doesn’t need recipes, kitchen tickets or table maps. It needs a scanner, a cash drawer and a till that closes a sale in seconds. The Retail pack sets up exactly that: a starter catalogue across beverages, snacks, household and toiletries, so you can scan and sell on day one.
Rename the samples to match your shelves, add your own barcodes, and you’re trading. This article covers the install; the linked how-tos cover fast checkout, deals and gift receipts.
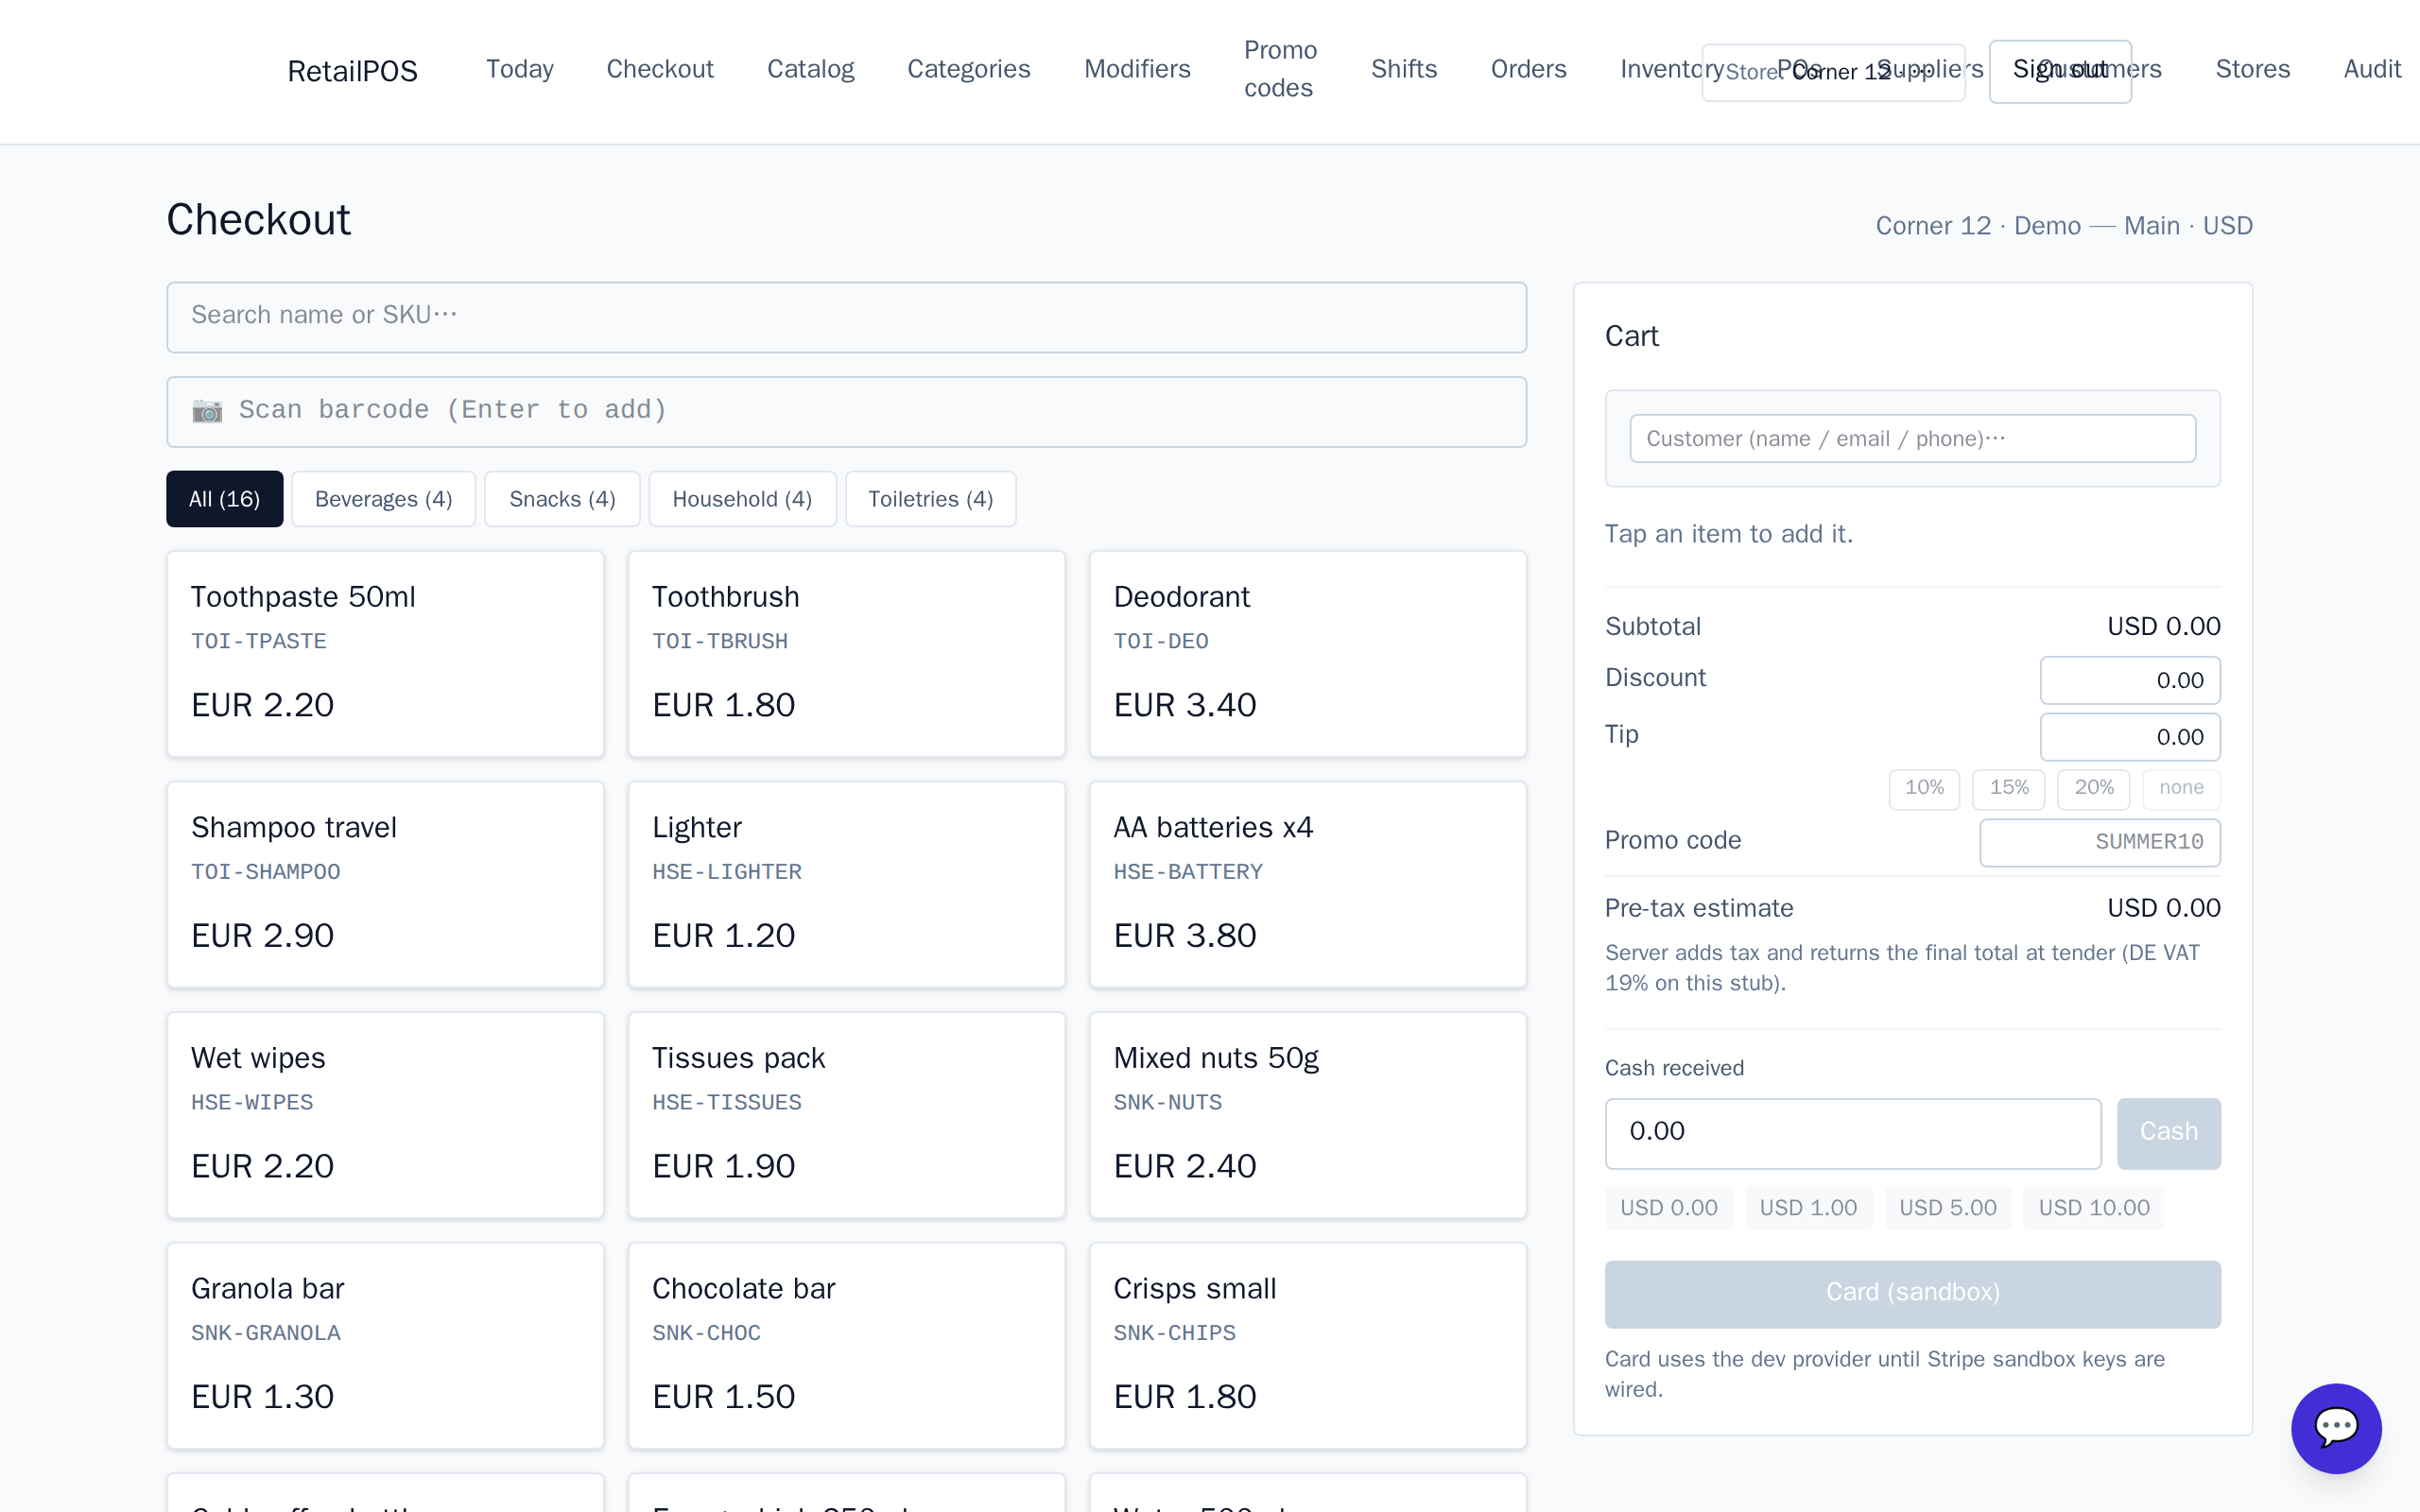
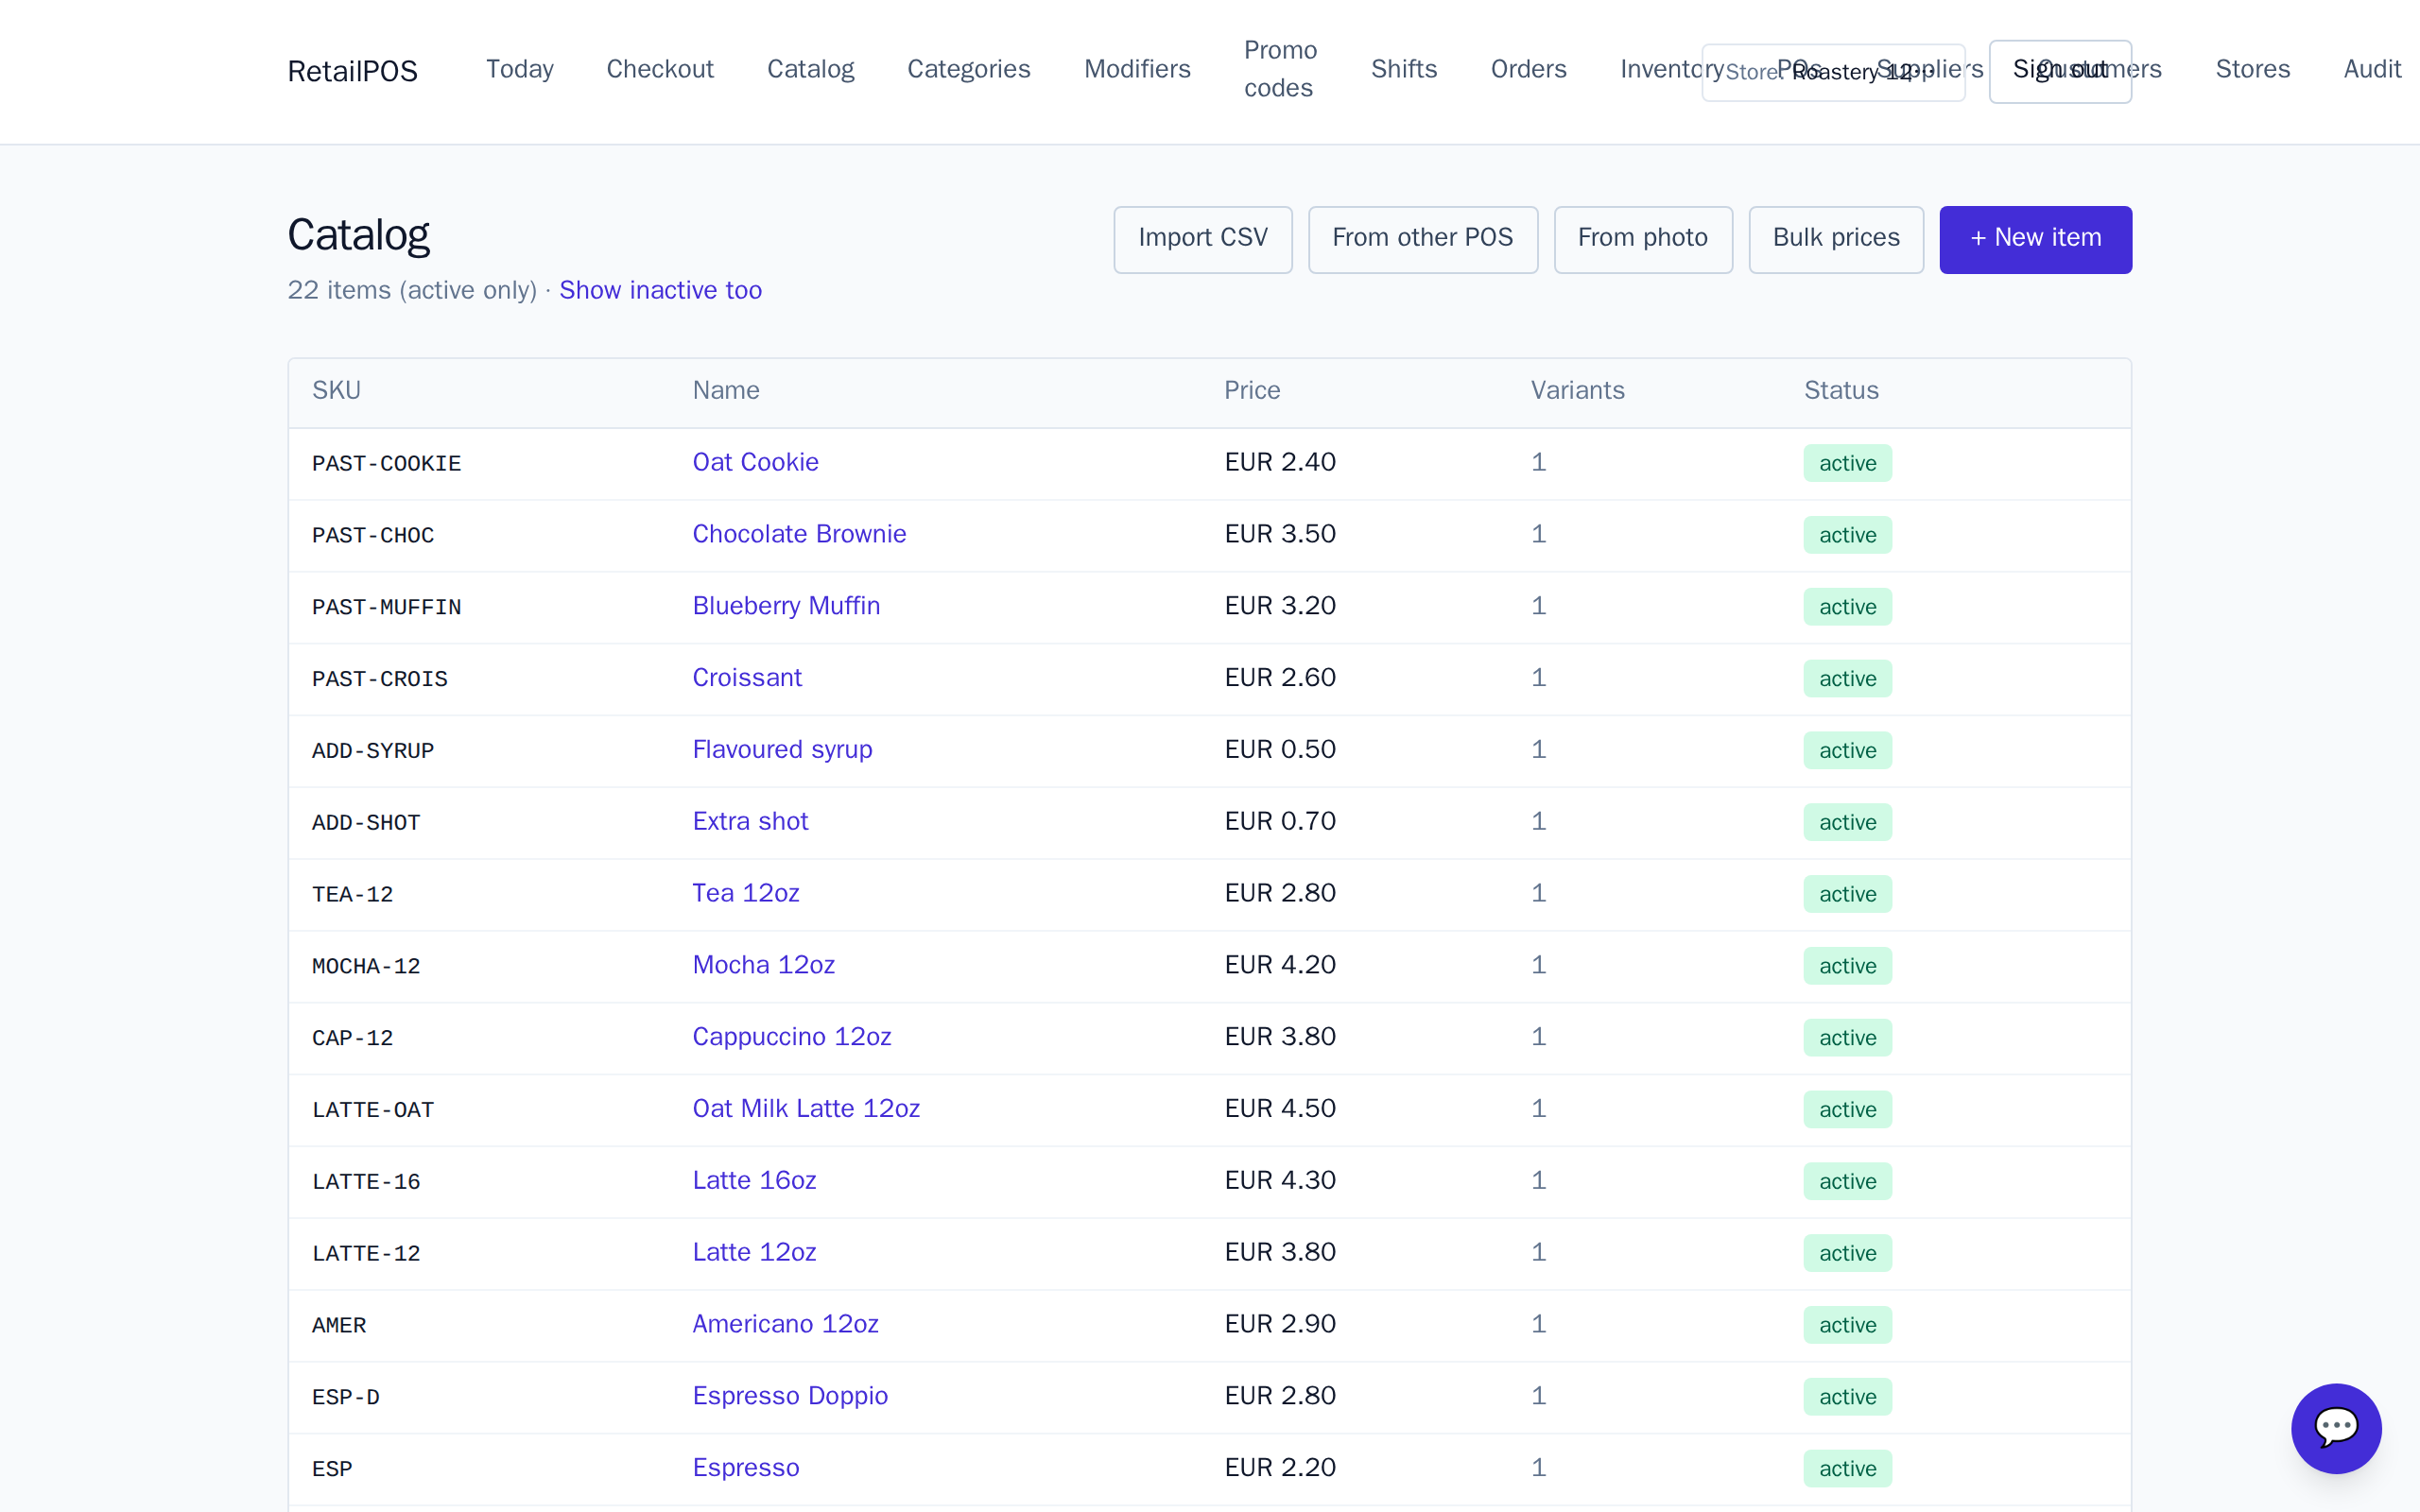
Install and shape your catalogue
- Install the Retail pack on a fresh store.
- Rename the sample items to your stock and set your prices.
- Add each item’s barcode so it scans straight to the cart.
Ring your first sale
Scan an item to add it to the cart, take cash or card, and the sale is done. On-hand stock drops as you sell, so the count reflects the shelf. See Ring your first sale for the full checkout walkthrough.
What to set up next
- Barcodes & fast checkout — scan-to-cart and name search at the till.
- Combos & multibuy deals — the meal-deal bundle at a set price.
- Gift receipts — a receipt without the prices for gifts.
Frequently asked
- Do I have to use the starter items?
- No. They are a starting point — rename them to your stock, delete what you don’t carry, and add your own. The point is you never begin from an empty catalogue.
- Is the retail pack really this simple?
- Yes. Retail is the leanest pack we ship: scan, take cash or card, done. No recipes or BOMs, because everything is directly stocked.
Put it into practice.
Open your shop and try it live. Free until your first 100 sales — no card, keep your hardware.